How to mount a NAS storage in Ubuntu
How to mount a NAS storage in Ubuntu (or actually any other Linux distribution)
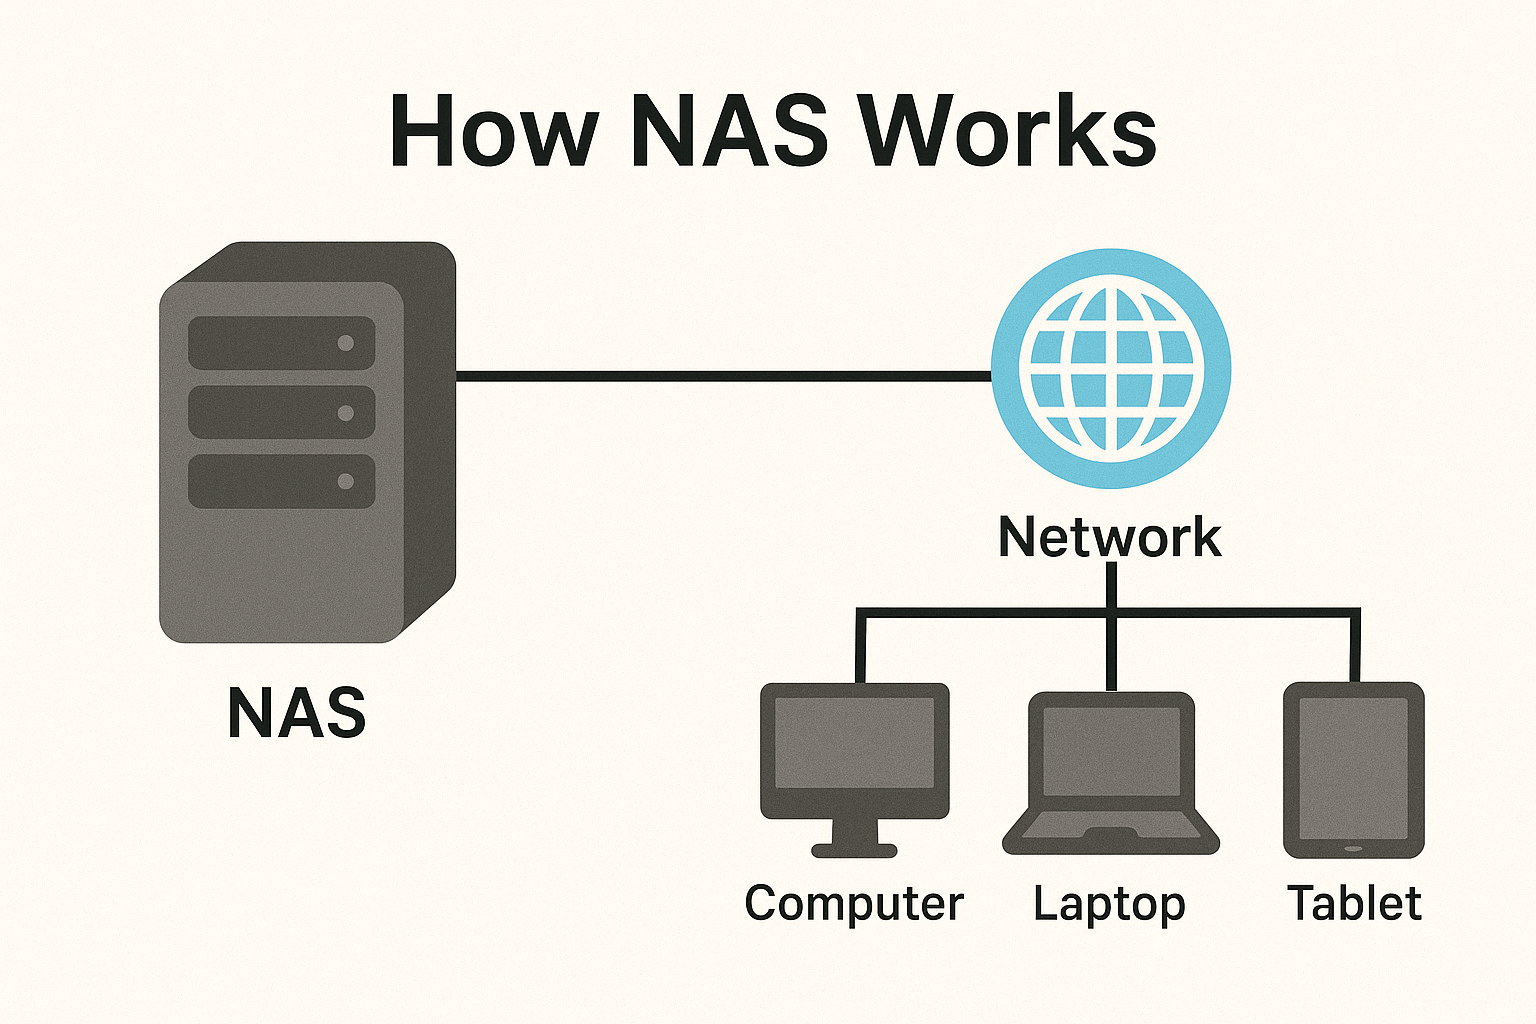
There are several ways to mount a NAS (Network Attached Storage) in Ubuntu, probably the easiest way is to use the GUI: you just go to the file manager, click on “Connect to Server”, and enter the NAS address. The main disadvantage of this is the performance, as the file manager is not optimized for this task. The best way to mount a NAS in Ubuntu is to use the command line. In this post, I will show you how to do it using CIFS protocol, involving fstab edit (I am using Synology NAS, that’s why you will see mentions of Synology brand here… Same approach should work for any NAS type).

When you “connect to server” via the Ubuntu file manager (Nautilus), you’re actually using GVfs-smb, a user-space SMB implementation that sits on top of FUSE and the libsmbclient library. By contrast, when you mount via mount.cifs (from the cifs-utils package), you’re using the kernel’s native CIFS driver, which integrates directly into the VFS layer. The key performance differences are:
-
User-space vs Kernel-space GVfs-smb runs entirely in user-space, with multiple context switches between Nautilus → GVfs daemon → libsmbclient → kernel. Each file I/O call incurs this overhead, which adds up quickly. A kernel-level CIFS mount handles those calls directly inside the kernel, eliminating most of that switching overhead. Ask Ubuntu
-
Buffer Sizes & Caching GVfs defaults to small read/write buffers (often 4 KB–8 KB) and does little opportunistic caching. The kernel CIFS driver uses much larger buffers (tens or hundreds of kilobytes by default), plus it supports oplocks and write-back caching, so large sequential transfers can fully saturate your gigabit link. GitLab
-
Protocol Overhead GVfs has to translate GIO calls into SMB protocol operations via libsmbclient, whereas the kernel driver speaks SMB directly with optimized code paths. That means fewer protocol round-trips and better pipelining under heavy load.
In practice, that translates into GVfs-smb speeds of only a few tens of MB/s on a gigabit network, versus near-line-rate (~110 MB/s) when you use mount.cifs. So if throughput and responsiveness matter, stick with the kernel CIFS mount for your Synology share.
Prerequisites
- A NAS device (e.g., Synology, QNAP, etc.) with SMB/CIFS support.
- An Ubuntu system with internet access.
- Basic knowledge of the command line and file system structure in Linux.
- Sudo privileges on the Ubuntu system.
- CIFS-utils package installed on your Ubuntu system. You can install it using the following command:
sudo apt-get install cifs-utils - A directory on your Ubuntu system where you want to mount the NAS share. You can create one using the following command:
sudo mkdir /mnt/nas - A NAS share that you want to mount. For example,
//192.168.86.200/home(replace with your NAS IP address and share name). - A username and password for accessing the NAS share. You can create a new user on your NAS or use an existing one with appropriate permissions.
- A credentials file to store your NAS username and password securely. This file will be used to authenticate the mount operation.
sudo nano ~/.smbcredentialsAdd the following lines to the file:
username=your_username
password=your_password
Make sure to replace
your_usernameandyour_passwordwith your actual NAS credentials. Save and exit the file. Set the permissions of the credentials file to restrict access:sudo chmod 600 ~/.smbcredentialsMounting the NAS Share
- Mounting Manually: You can mount the NAS share manually using the following command:
sudo mount -t cifs //192.168.86/200/home /mnt/nas -o credentials=/home/your_username/.smbcredentials,uid=1000,gid=1000,vers=3.0Replace
your_usernamewith your actual username. Theuidandgidoptions set the ownership of the mounted files to your user account, andvers=3.0specifies the SMB protocol version (you can adjust this based on your NAS configuration). - Mounting Automatically on Boot: To mount the NAS share automatically at boot time, you need to edit the
/etc/fstabfile. Open it with a text editor:sudo nano /etc/fstabAdd the following line at the end of the file:
//192.168.86.200/home /mnt/nas cifs credentials=/home/your_username/.smbcredentials,iocharset=utf8,sec=ntlmssp,nofail 0 0Replace
your_usernamewith your actual username. Thenofailoption allows the system to boot even if the NAS share is not available. - Mounting the Share: After editing the
/etc/fstabfile, you can mount all filesystems listed in it using the following command:sudo mount -aThis will mount the NAS share to the specified directory (
/mnt/nasin this case). You can verify that the share is mounted by running:df -hThis command will display a list of mounted filesystems, and you should see your NAS share listed there.
- Mounting Manually: You can mount the NAS share manually using the following command:
Unmounting the NAS Share
To unmount the NAS share, you can use the following command:
sudo umount /mnt/nas
This will unmount the share from the specified directory.
Conclusion
Mounting a NAS share in Ubuntu is a straightforward process that can significantly enhance your file management capabilities. By using the command line and editing the /etc/fstab file, you can ensure that your NAS share is mounted automatically at boot time, providing seamless access to your files. Whether you’re using a Synology NAS or any other brand, the steps outlined in this guide should help you get started with mounting your NAS storage in Ubuntu.